Sharing Components
In this guide, we explain how to add components to your library and use them across all projects in your Workspace. You'll learn how to share, insert, update, and import components efficiently.
How to add components to your library
You can add components to your library to make them available across all your projects in a Workspace.
adding components to the library
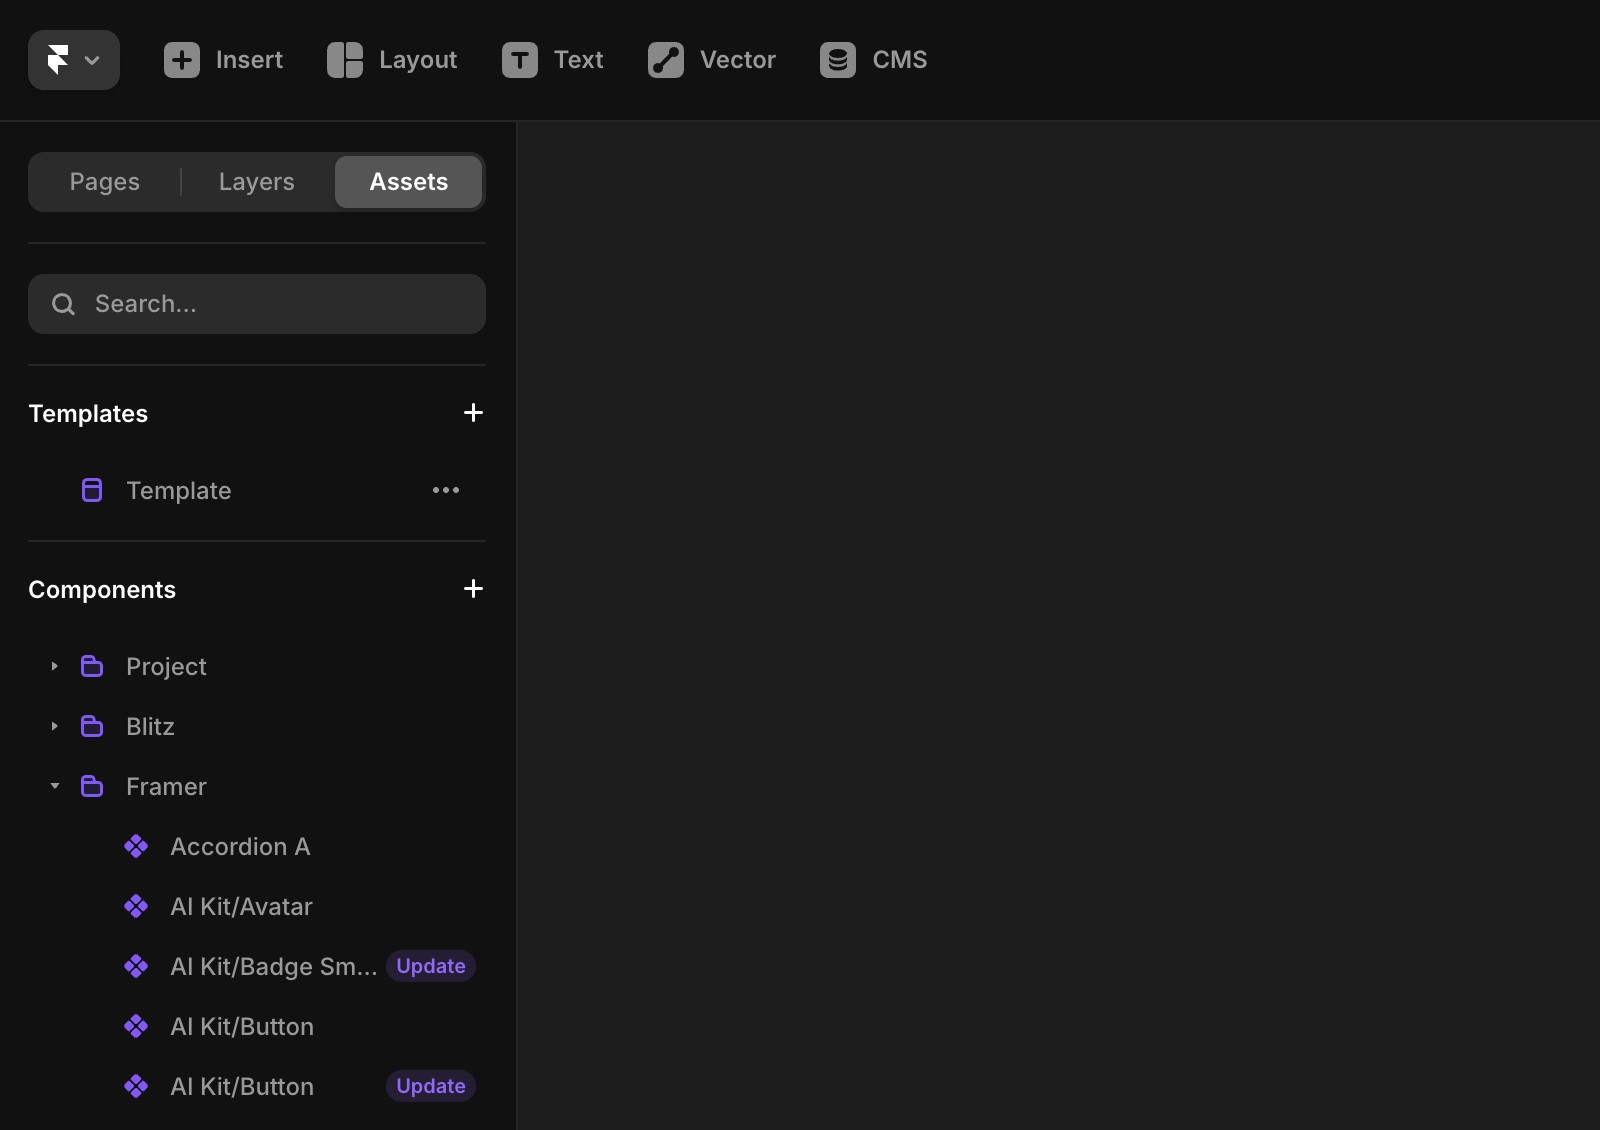
Go to the Assets panel.
Click the three-dot icon next to the component name.
Select “Add to Library” from the dropdown menu.

Inserting components
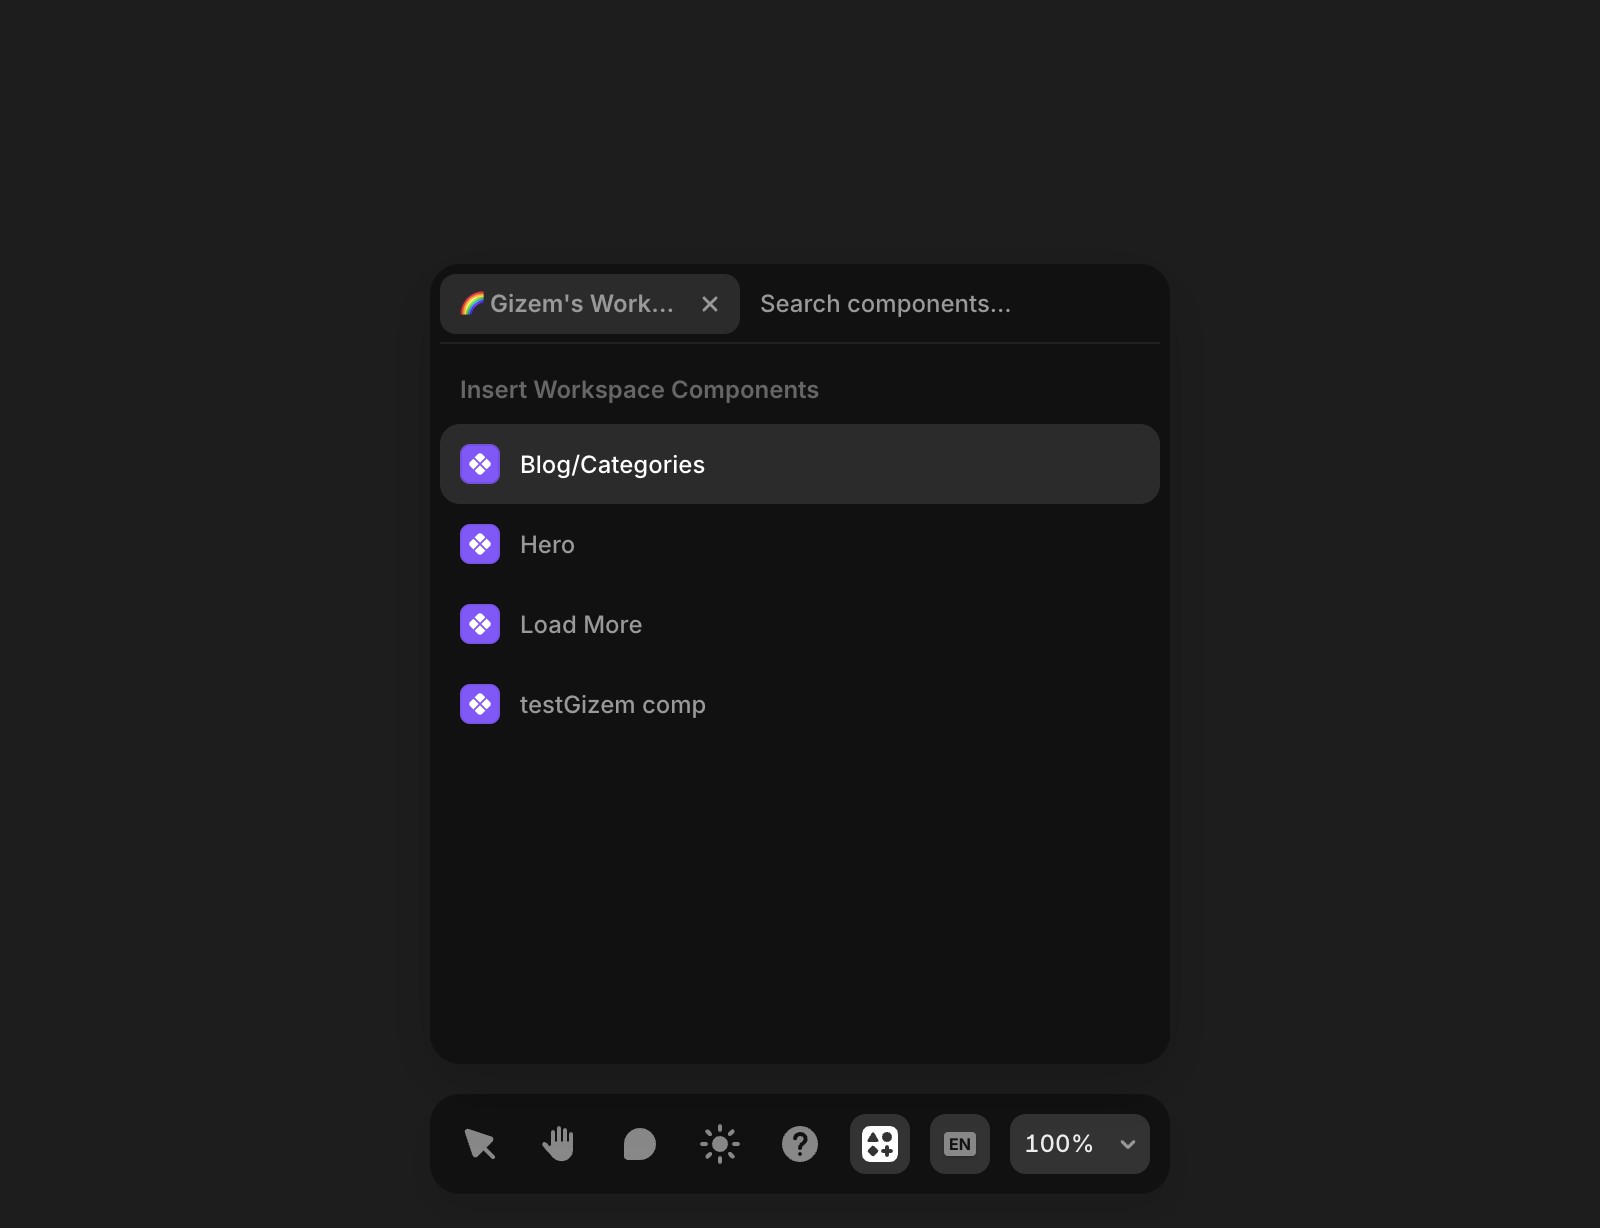
In the Library, you can browse all shared components and search for specific ones by name. Use the ⌘ K (Ctrl + K on Windows) shortcut and choose “Browse Library” from the Quick Actions menu.
A badge will appear in the search bar displaying your Workspace name, indicating which library you're viewing. Use the arrow keys to navigate and press Enter to insert a component.

Updating components
If you make changes to the source (primary) component, all projects using the component instance (without detaching) can pull the latest updates. No manual republishing is needed.
Click the “Update” button in the Assets panel to apply changes to individual components. You can also undo updates if needed.

Add component to you project by using Copy URL
In the Assets panel, click the three dots next to a component.
Select “Copy URL”.
Paste the component into your project canvas.
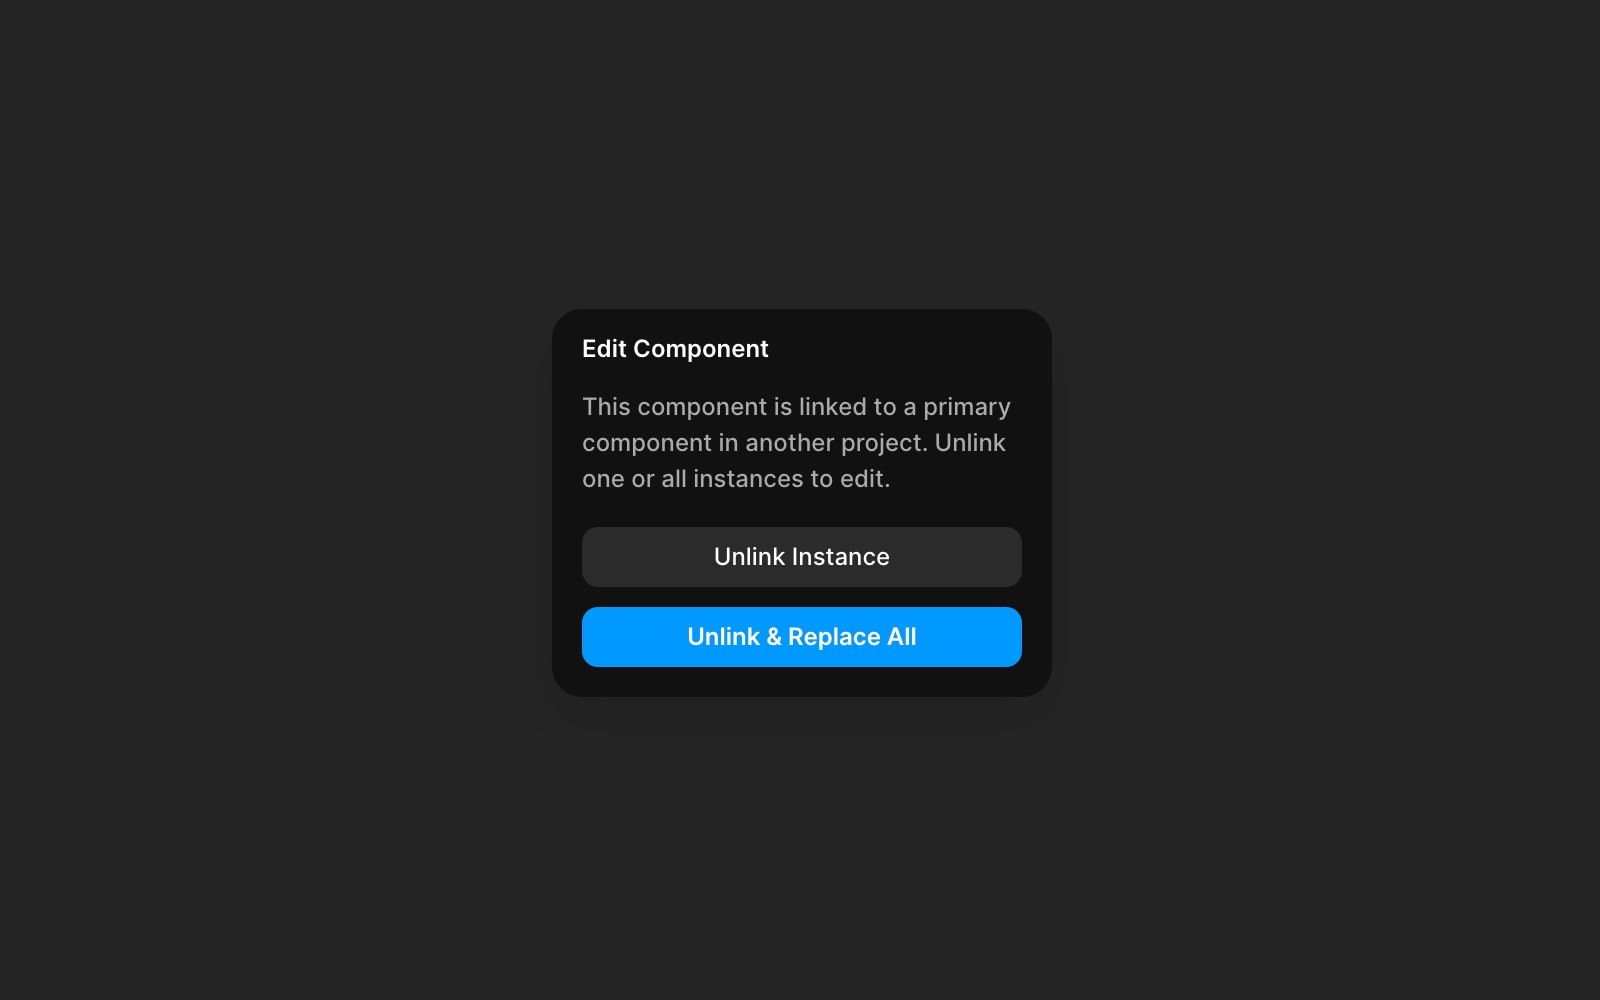
If you double-click the component to edit it, a popup will prompt you to “Unlink Instance.” Unlinking adds it to your Assets library.

Import component in a code component or react project
Framer components can be used in any React environment outside of Framer.
Click the three dots next to the component and select “Copy Import.”
Paste the import statement into your code.
For example, if you design a button in Framer and want it to appear only under specific conditions (e.g., based on URL parameters or user location), use the “Copy Import” option to include it in your React code. You can place it before your component's main function or override it to customize its behavior.
If the problem persists after following these steps, feel free to reach out to us through our contact page for further help.
Updated