Just bought a template, what’s next?
The Framer Marketplace offers both free and paid templates to kickstart your web project. This guide will walk you through everything, from opening your template to publishing it live.
Locating and opening your template
After purchasing or selecting a Framer template, you will typically receive a remix link that duplicates it into your workspace. Paid templates may be sent via email, while free options can often be added with a simple “Use for Free” button in the marketplace. If the project does not appear in your dashboard immediately:
Refresh your dashboard: A quick reload may prompt the new project to appear.
Re-click the link: If you recently created a Framer account or switched browsers, clicking the link again may resolve the issue.
Getting familiar with the layout
Before making edits, take a moment to understand the structure of your template. The left-hand panel displays all pages and sections, illustrating their organization. Check if the creator has set up global color styles or text styles; these can be found in the Assets panel. Adjusting these presets early can save time, as changes to a single color swatch or text style will update multiple elements across your design.
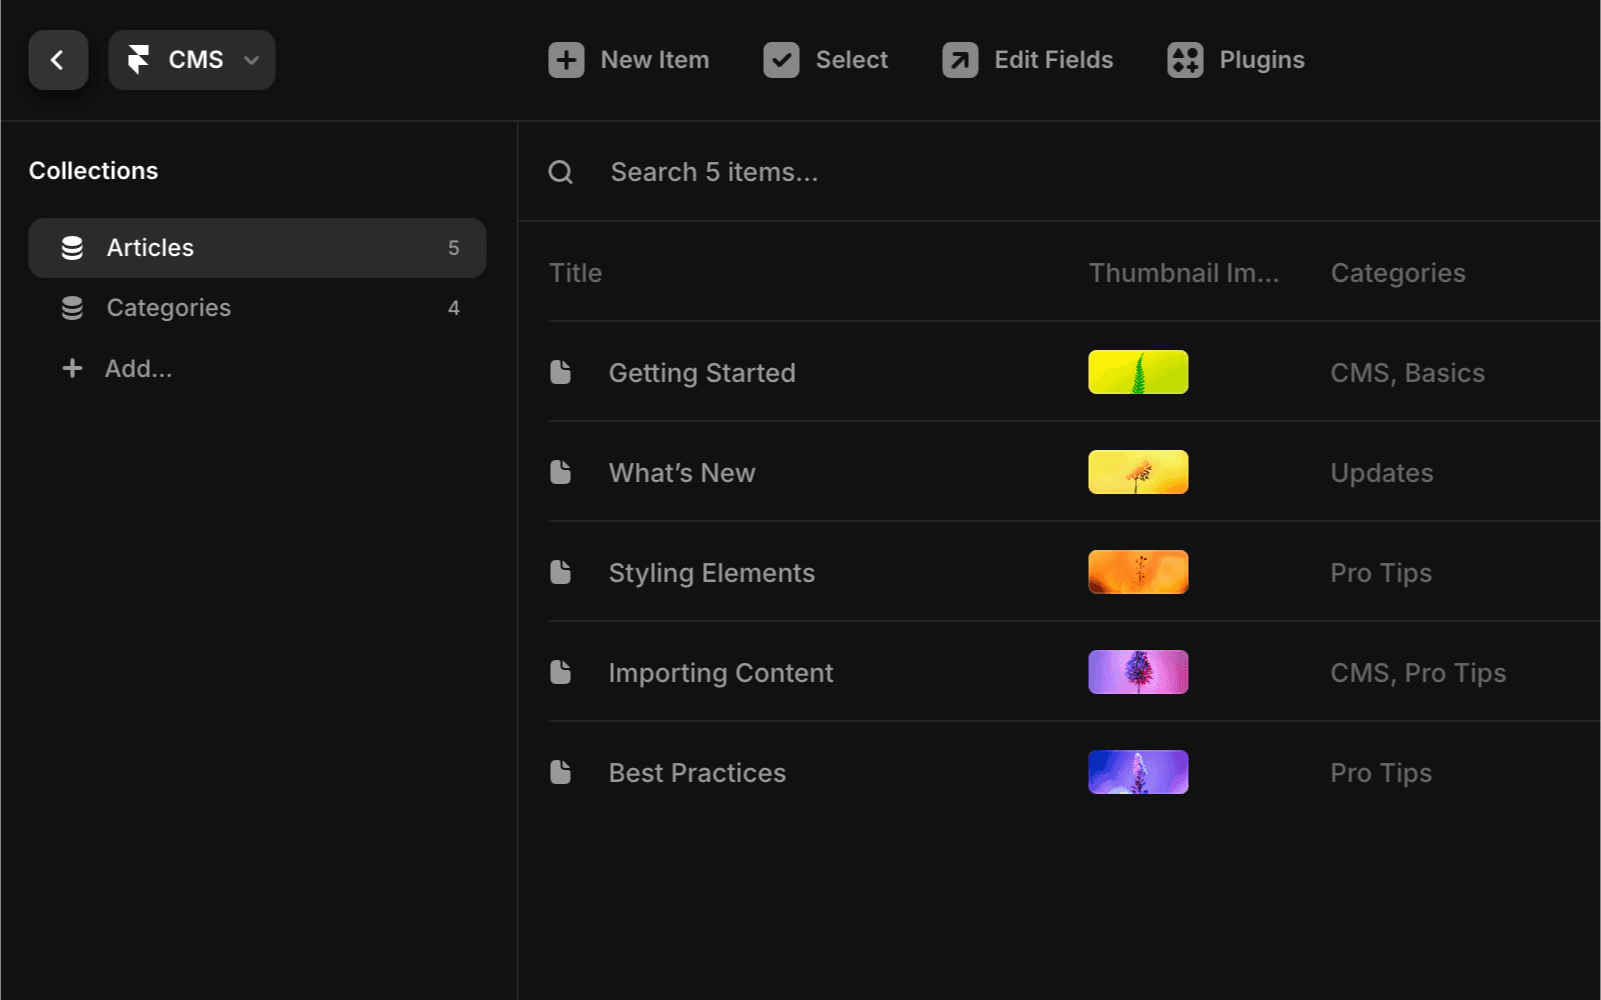
Some templates include a CMS (Content Management System) for repeatable pages, such as blog posts or product listings, which simplifies content management. If your template has CMS collections, identify which sections use this data so you can update them efficiently.
Customizing your content
Once you’re familiar with the template, it’s time to personalize it. Most users begin by updating the text and images.
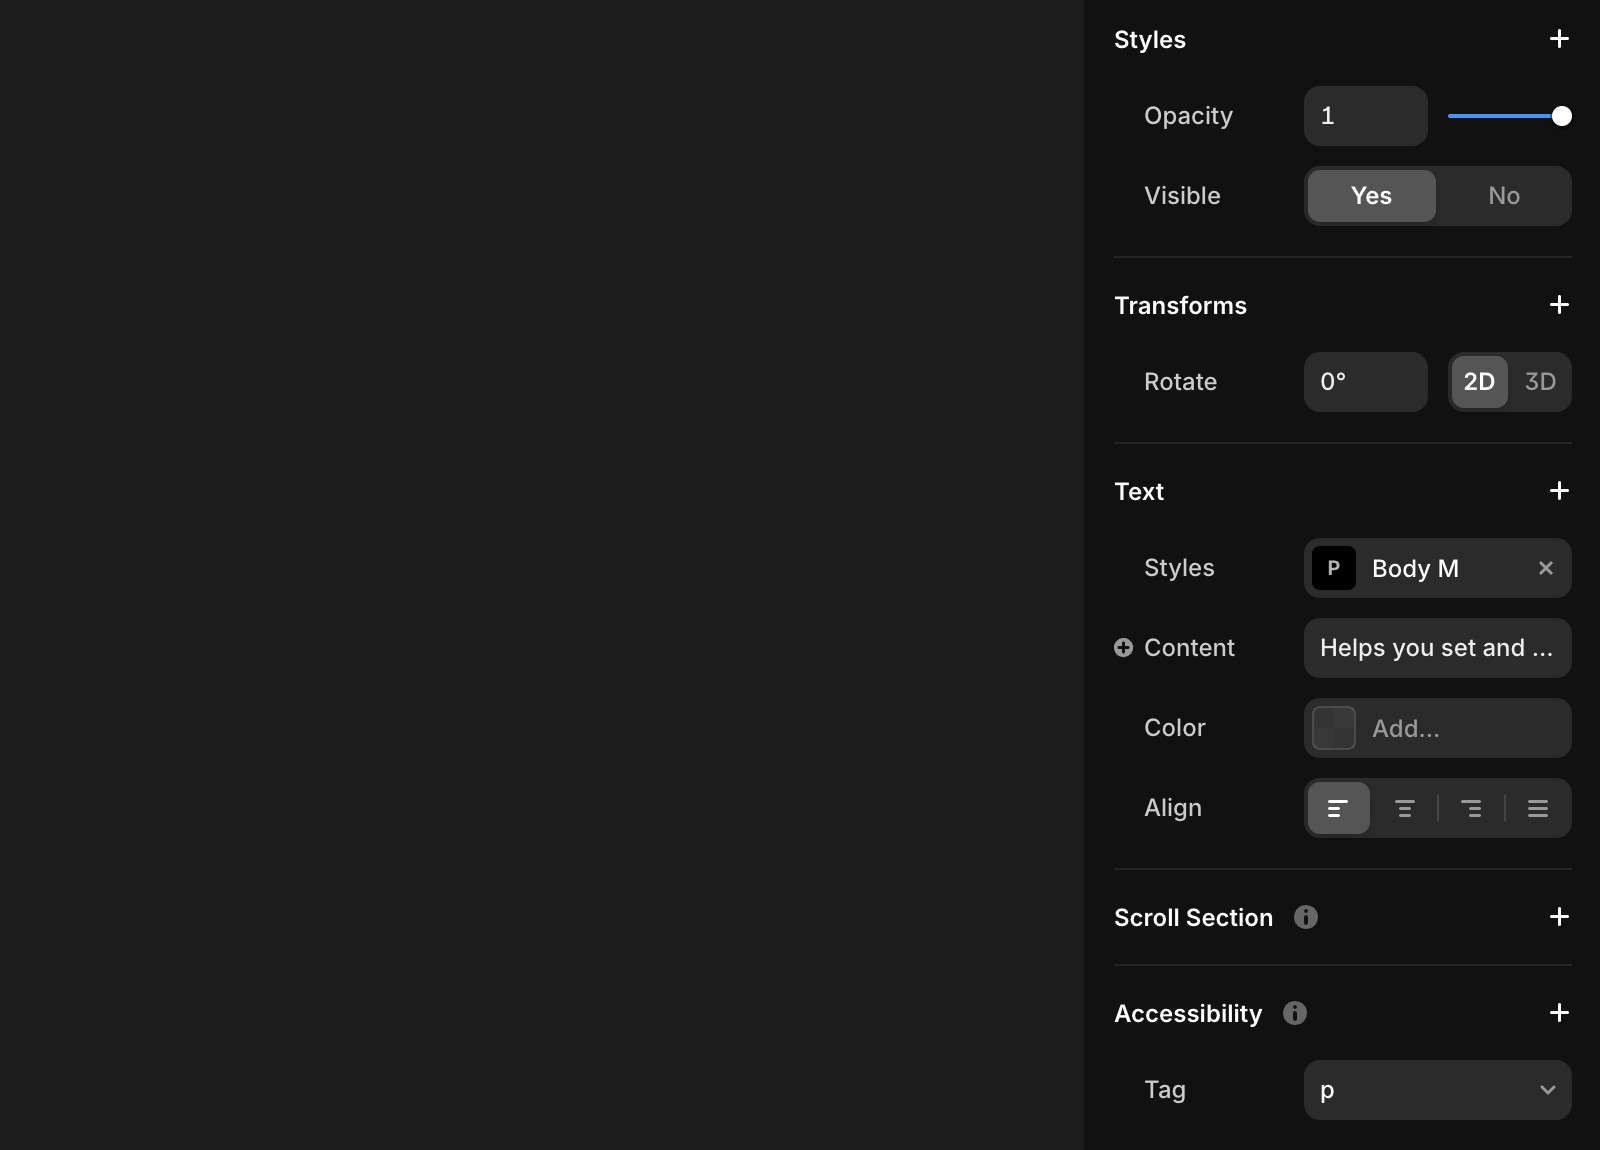
Editing text: Double-click any text layer to replace the placeholder content with your own. You can adjust the fonts, alignment, or text size in the properties panel on the right.
Replacing images: Double-click an image to access the option to swap it out.
Updating colors: Use global color tokens to apply your brand’s colors throughout the site.
If you don’t need a specific page, right-click its name in the left panel, open the menu, and delete it. Be sure to update or remove any navigation links that pointed to that page.
Some templates include Layout Templates, which manage site-wide elements like navigation, footers, or banners in one place. If your template supports Layout Templates, they will be labeled distinctly. Simply open the layout file, customize the elements, and watch those updates apply across all linked pages.
Editing components
Framer templates rely on components to ensure consistency across layouts. Components are reusable elements—such as project tiles, footers, or FAQ sections—that are used throughout your site.
Editing a master component: Changes to the master design, like updating a logo or adjusting colors, will apply to every instance of that component.
Adjusting a single instance: Some components have variables that allow you to modify specific properties, such as a label or color, without affecting the original design. Learn more about this in our components guide.
Customizing the CMS
Some templates include a CMS for managing repeatable content, such as blog posts or portfolio projects. Instead of editing each page manually, you can update the content in one place, and all linked pages will update automatically.
If you’re new to CMS collections, check out our CMS Academy tutorials for best practices.
Editing contact forms
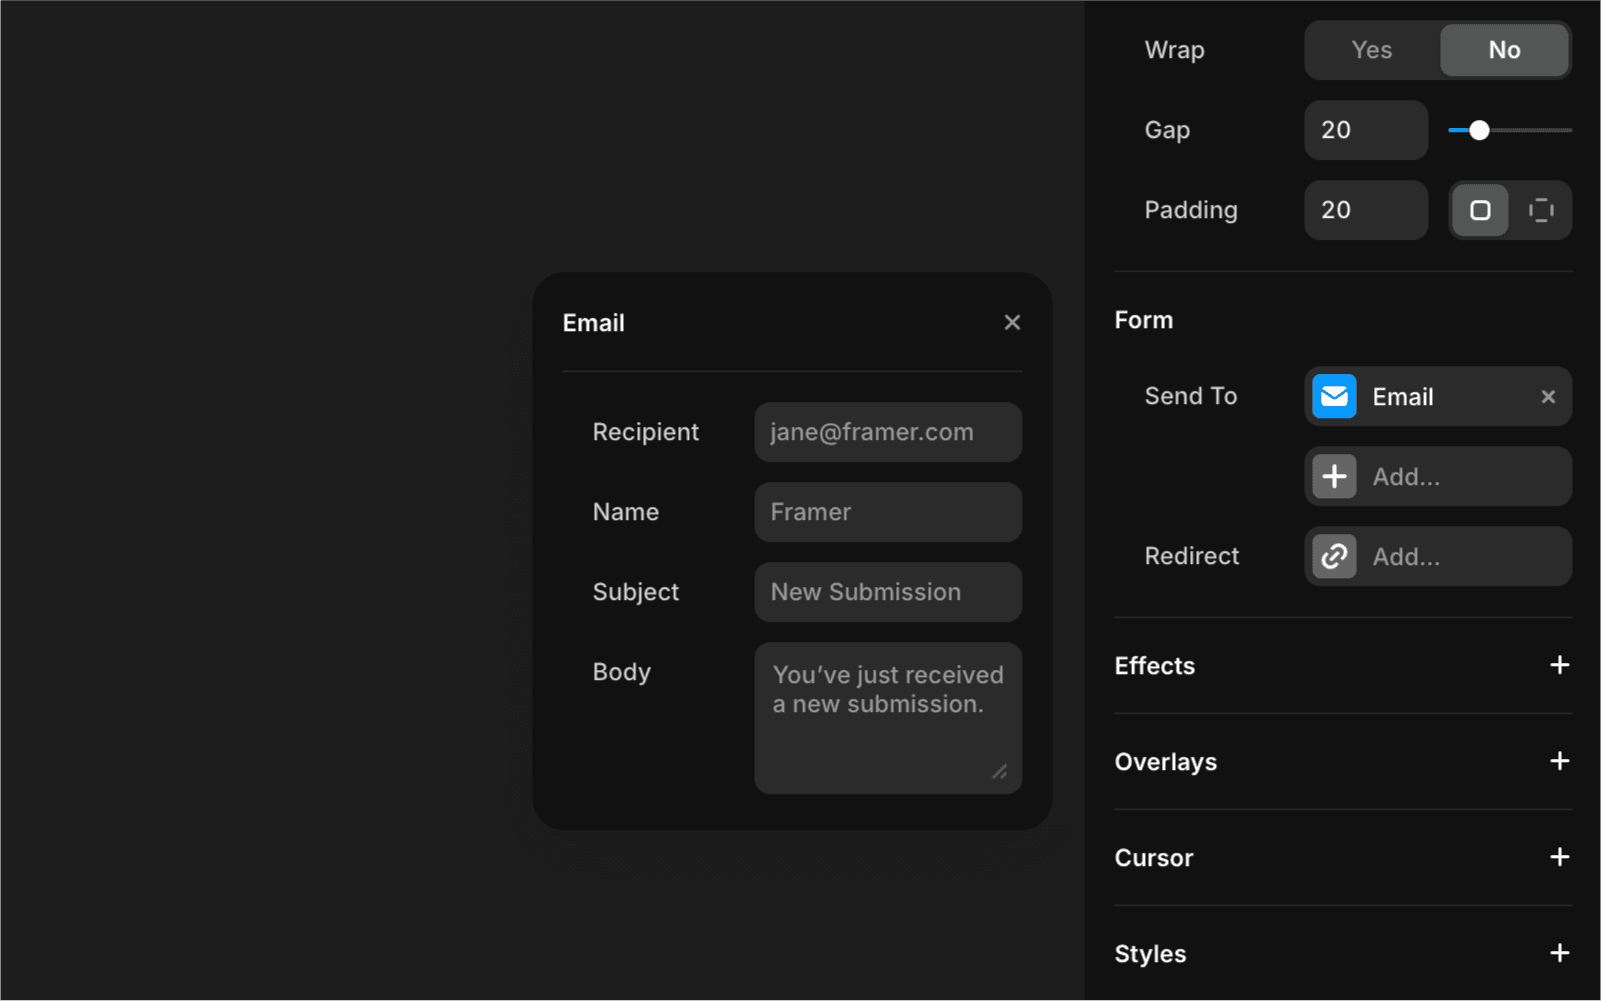
Many templates come with a built-in form for contact or newsletter signups. These forms will not function properly until you specify where submissions should be sent.
Locate the Form layer in your design.
In the right-hand properties panel, enter the email address or endpoint in the “Send to” field.
This ensures that submitted messages reach your inbox.
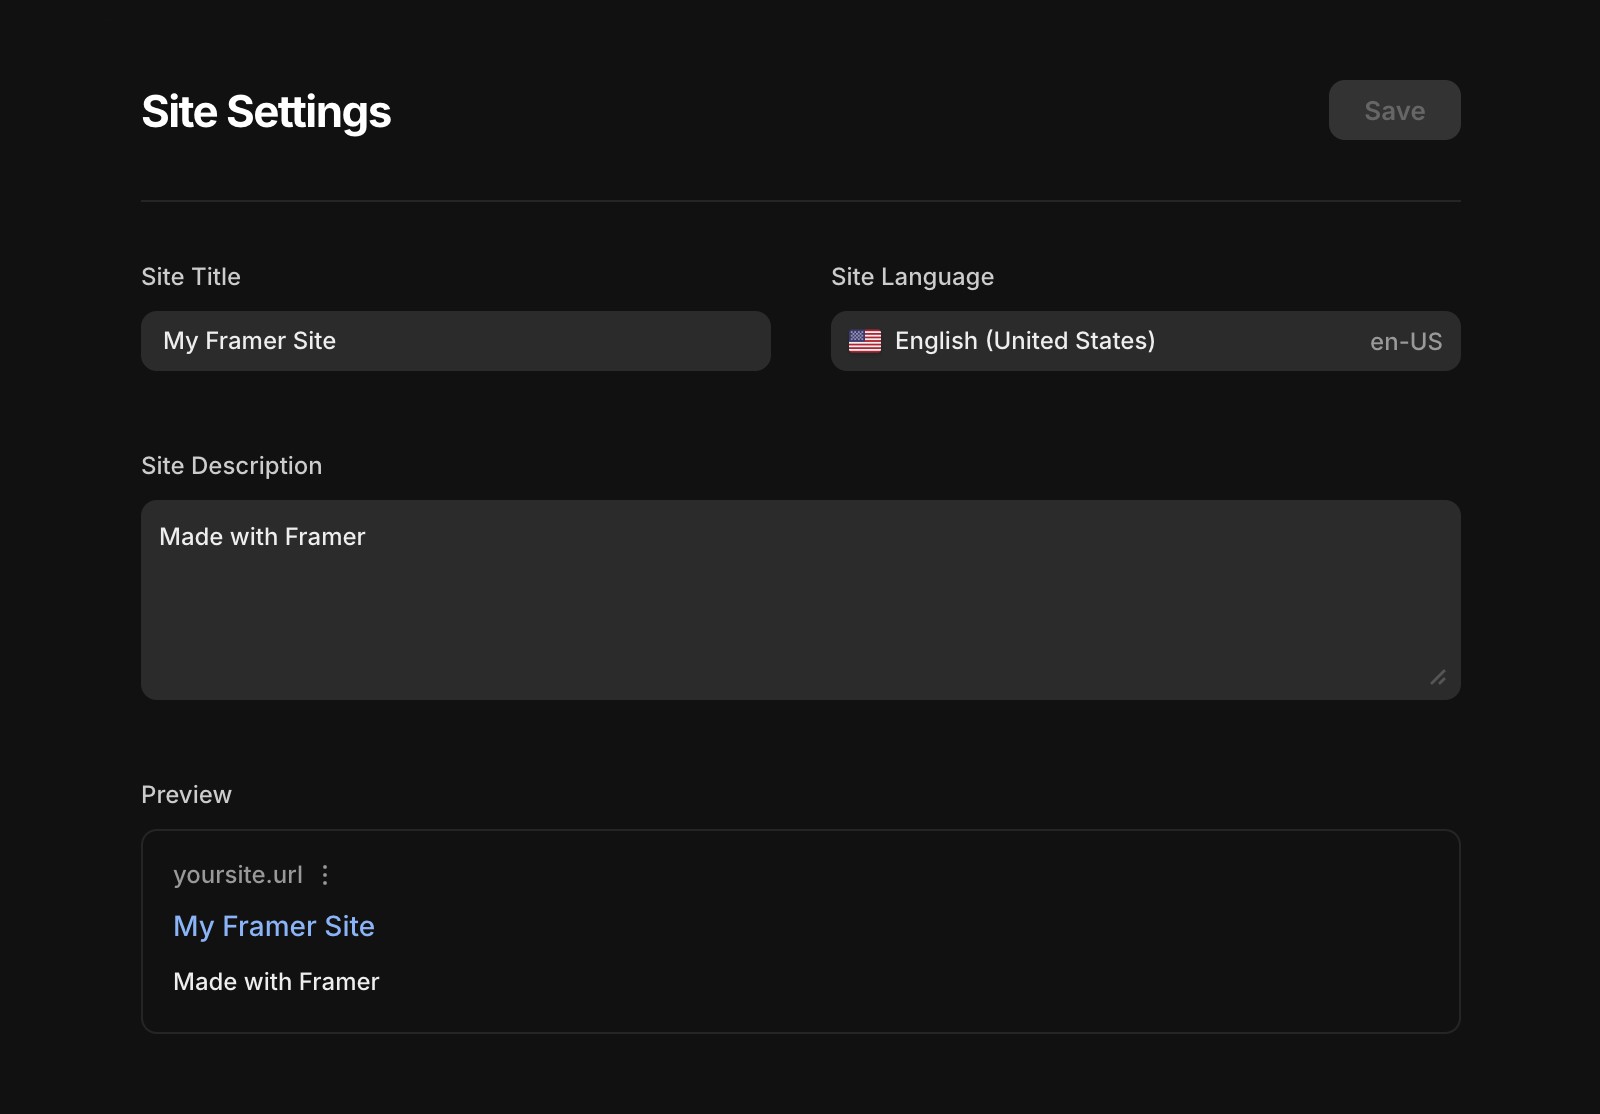
Adjusting site settings
To fine-tune details such as page titles, meta descriptions, or how your site appears in social media previews, go to the site settings.
Open the project settings from the top-right corner.
Adjust the SEO-related fields for better visibility.
If you are using third-party tools (e.g., Google Analytics), enter your tracking ID in the designated field.
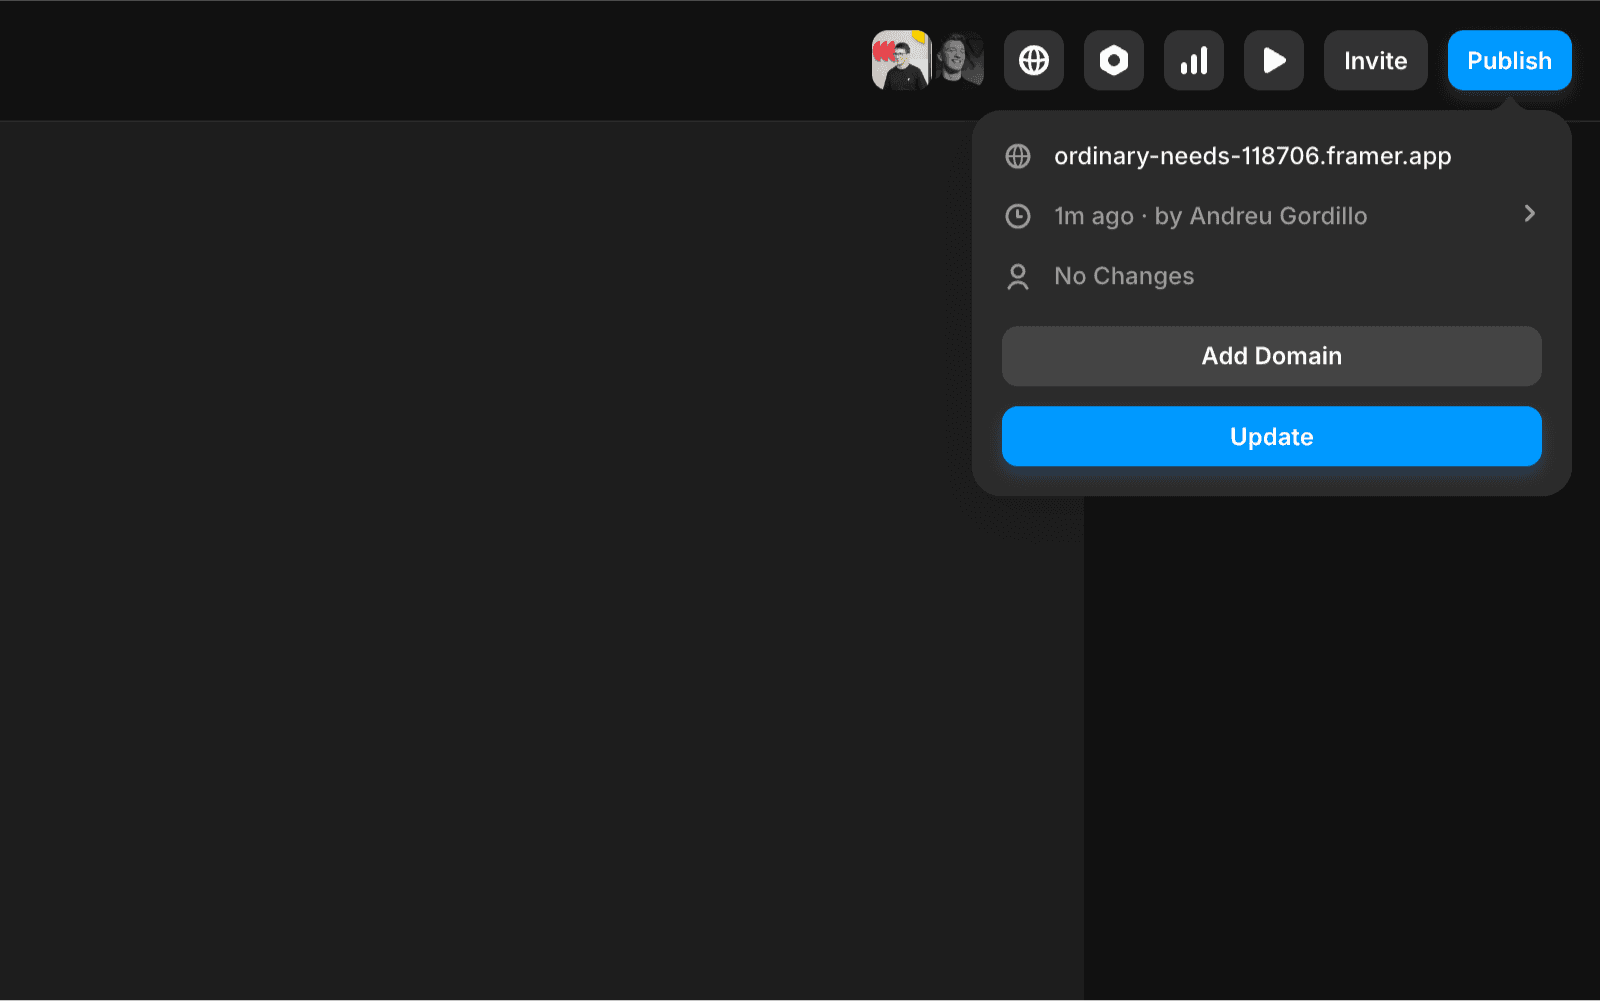
Publishing your project
Once your design and content are ready, click “Publish” to launch your site.
Free subdomain: Test or share your site instantly with a Framer-provided subdomain.
Custom domain: For a branded experience, go to the domain settings and follow the steps to connect your custom domain. Depending on your Framer plan, you may need to update DNS records or use an auto-connect option if supported by your registrar.
For more details, check out our guide on connecting a custom domain.
If you need additional guidance, here are some useful resources:
Framer Academy – Explore tutorials on layout basics, interactions, and more.
Framer Support – Connect with experts to ask questions and share progress.
Framer Experts – Hire a vetted expert for specialized assistance.
For template-specific questions, email us at creators@framer.com.
I just bought a Framer template but it’s not showing up in my dashboard. What should I do?
If your purchased or selected Framer template does not appear in your dashboard immediately, try refreshing your dashboard. If that doesn’t work, re-click the remix link you received. This is especially helpful if you recently created a Framer account or switched browsers.
How do I customize the text, images, and colors in my Framer template?
To customize your template, double-click any text layer to replace the placeholder content with your own. You can adjust fonts, alignment, or text size in the properties panel on the right. For images, double-click an image to access the option to swap it out. To update colors site-wide, use global color tokens found in the Assets panel.
How do I set up and connect a contact form in my Framer template?
Locate the Form layer in your design. In the right-hand properties panel, enter the email address or endpoint in the 'Send to' field. This ensures that submitted messages from your contact or newsletter form reach your inbox.
Updated