Using the Creator Dashboard
Submit products, track performance, and update your creator profile.
The Creator Dashboard is your central hub for submitting and managing your products and your profile in the Marketplace. This guide will help you navigate the Dashboard efficiently. See How to Open and Edit Framer Templates.
Submitting Templates
Publishing a new template is quick and intuitive with the Creator Dashboard. You’ll be guided through uploading assets, adding descriptions, and categorizing your design for discoverability.
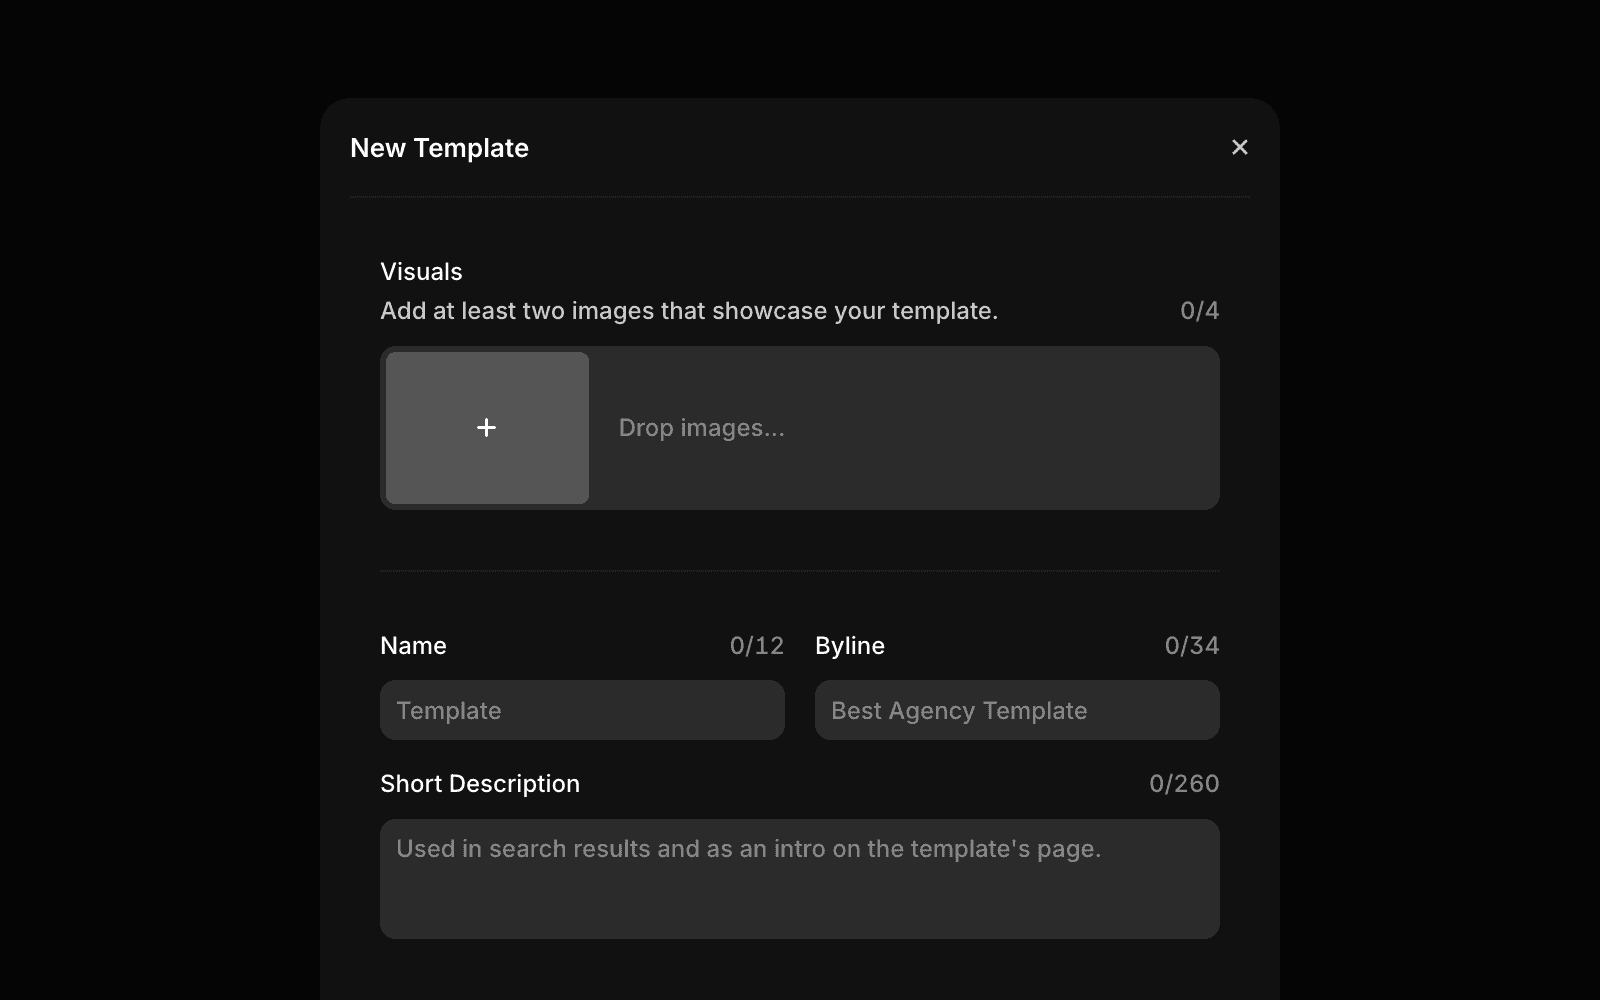
Go to the Templates tab in your Creator Dashboard.
Click New Template to start a new submission.
In the submission window, complete all required fields.
Once you’re ready, click Submit.
Editing Templates
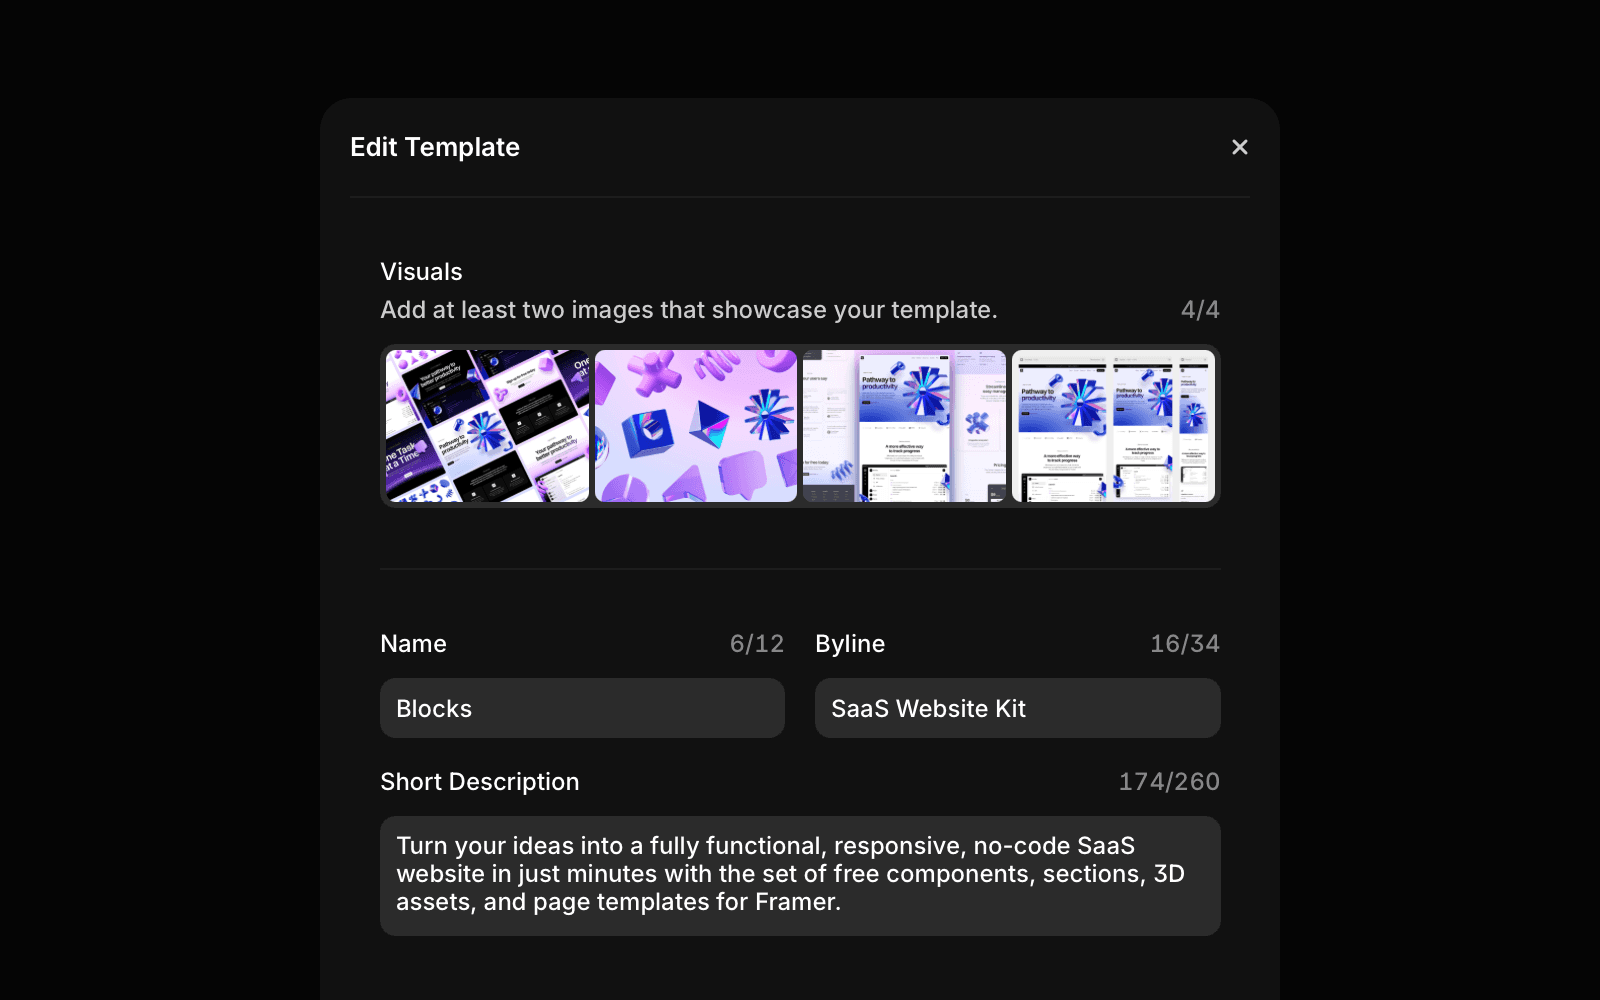
Need to make updates? You can edit your live templates anytime—instantly and without re-review, unless you’re changing the URL.
Go to the Templates tab in your Creator Dashboard, and find the one you’d like to update.
Hover over the template and click Edit from the action menu.
Update any required fields, visuals, or other details.
Click Submit, then confirm any prompts to apply your changes.
Note: Changes to the remix link, preview URL, or checkout URL will require manual review from the Framer team before going live.
Submitting Plugins
Publishing a new plugin is fast and seamless with the Creator Dashboard. You’ll be guided through uploading your code, adding essential details, and categorizing your plugin for visibility and discoverability.
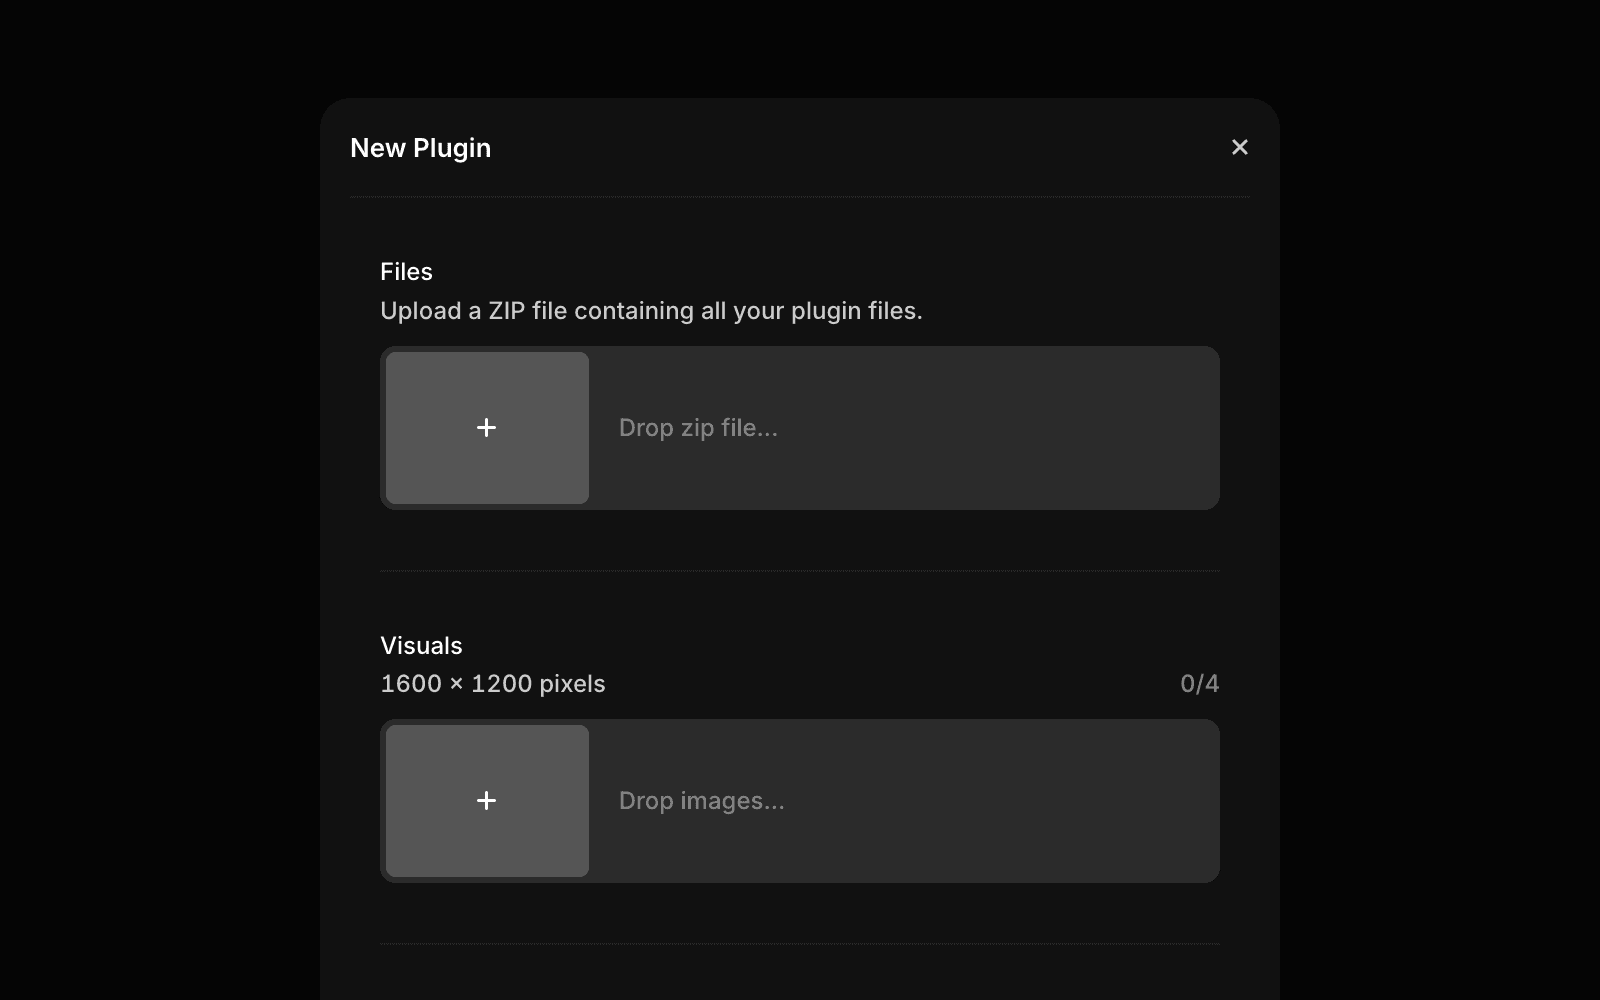
Go to the Plugins tab in your Creator Dashboard.
Click New Plugin to start a new submission.
In the submission window, complete all required fields.
Once you’re ready, click Submit.
Editing Plugins
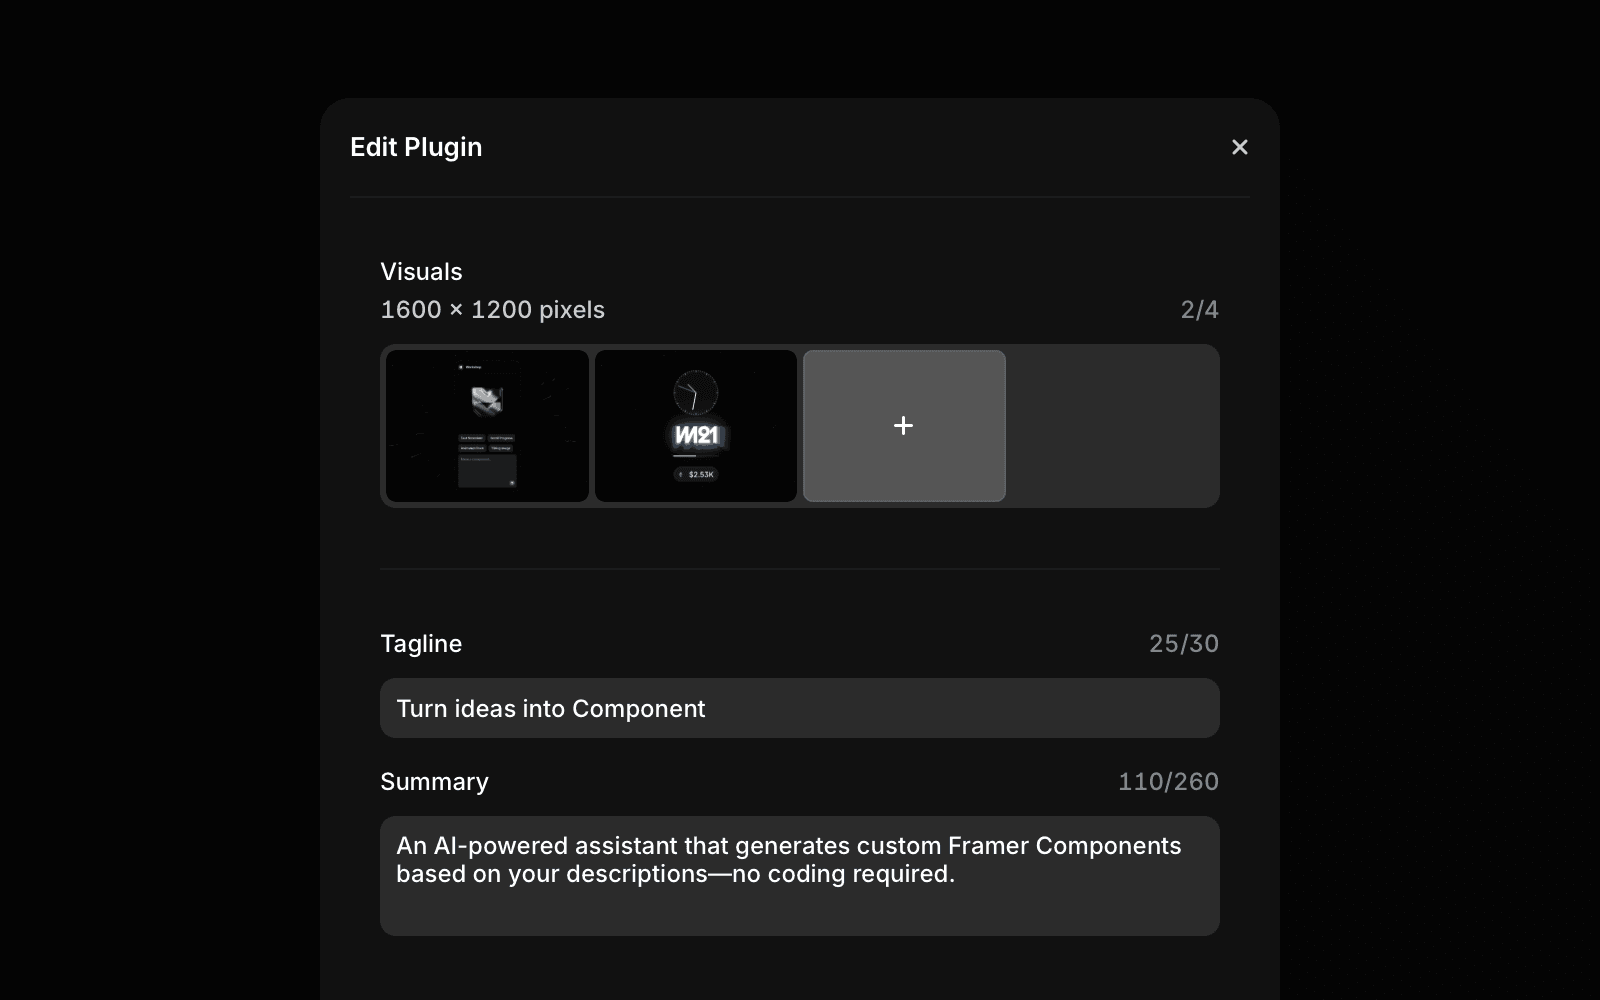
You can make instant changes to your plugin listings without a review, except for new versions, which require an expedited review.
Go to the Plugins tab in your Creator Dashboard, and find the one you’d like to update.
Hover over the plugin and click Edit from the action menu.
Update any required fields, visuals, or other details.
Click Submit, then confirm any prompts to apply your changes.
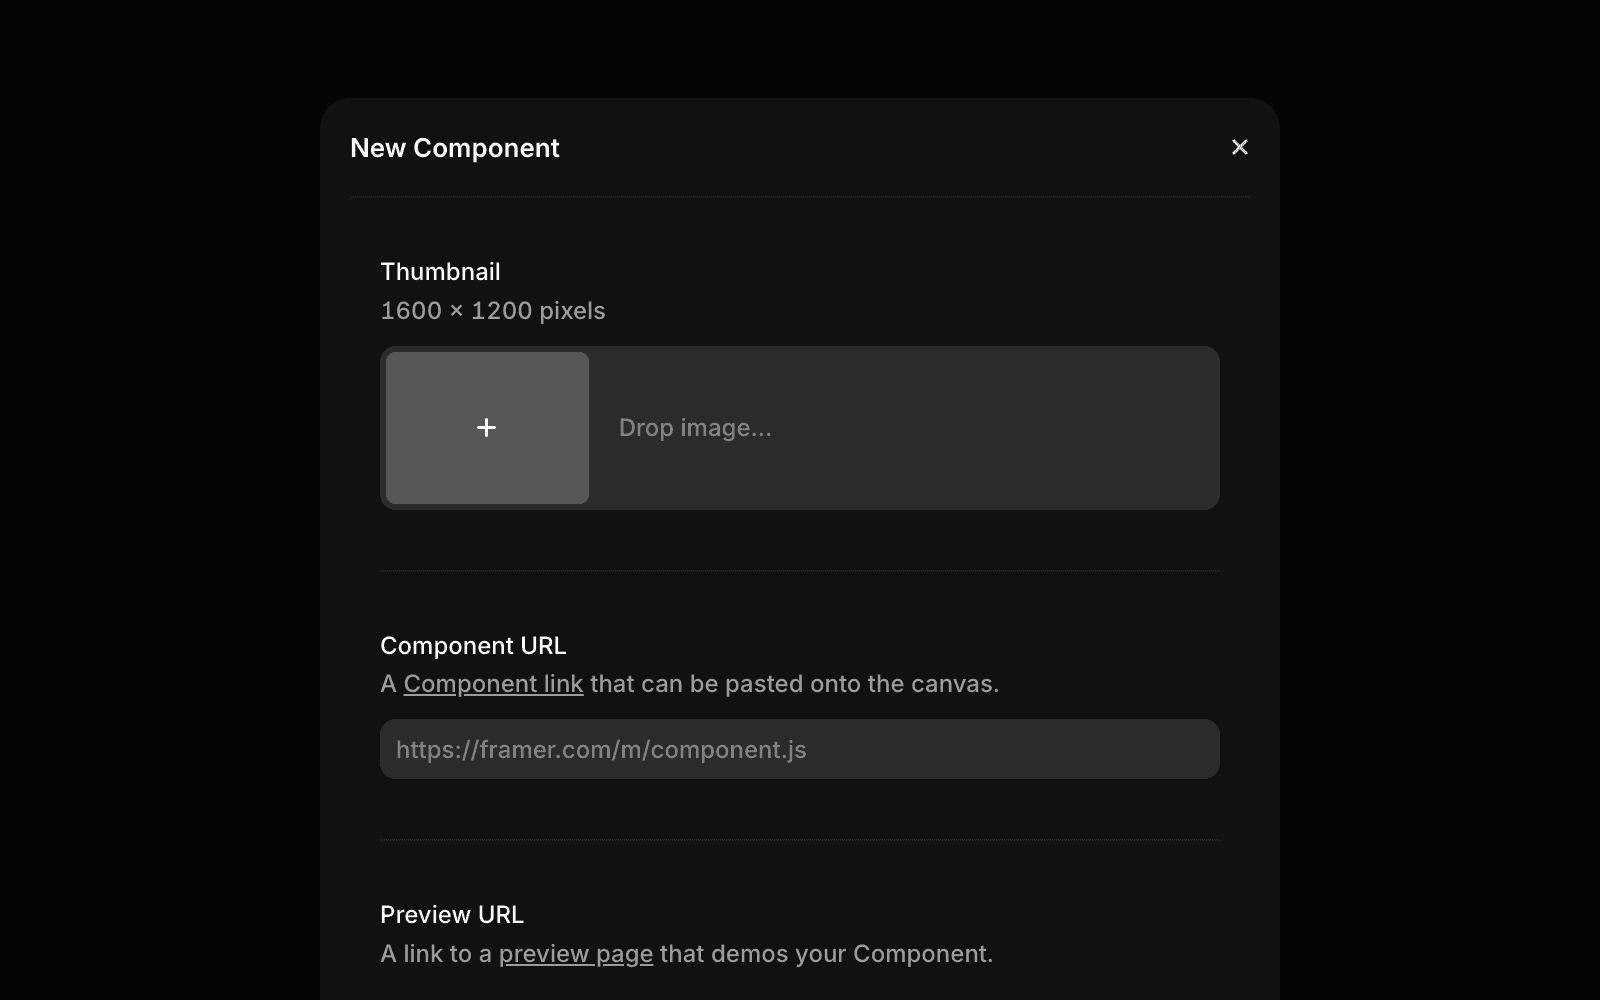
Submitting Components
Releasing a new component is quick and effortless using the Creator Dashboard. It guides you through the process of adding your component and customizing it for better visibility and discoverability.
Go to the Components tab in your Creator Dashboard.
Click New Component to start a new submission.
In the submission window, complete all required fields.
Once you’re ready, click Submit.
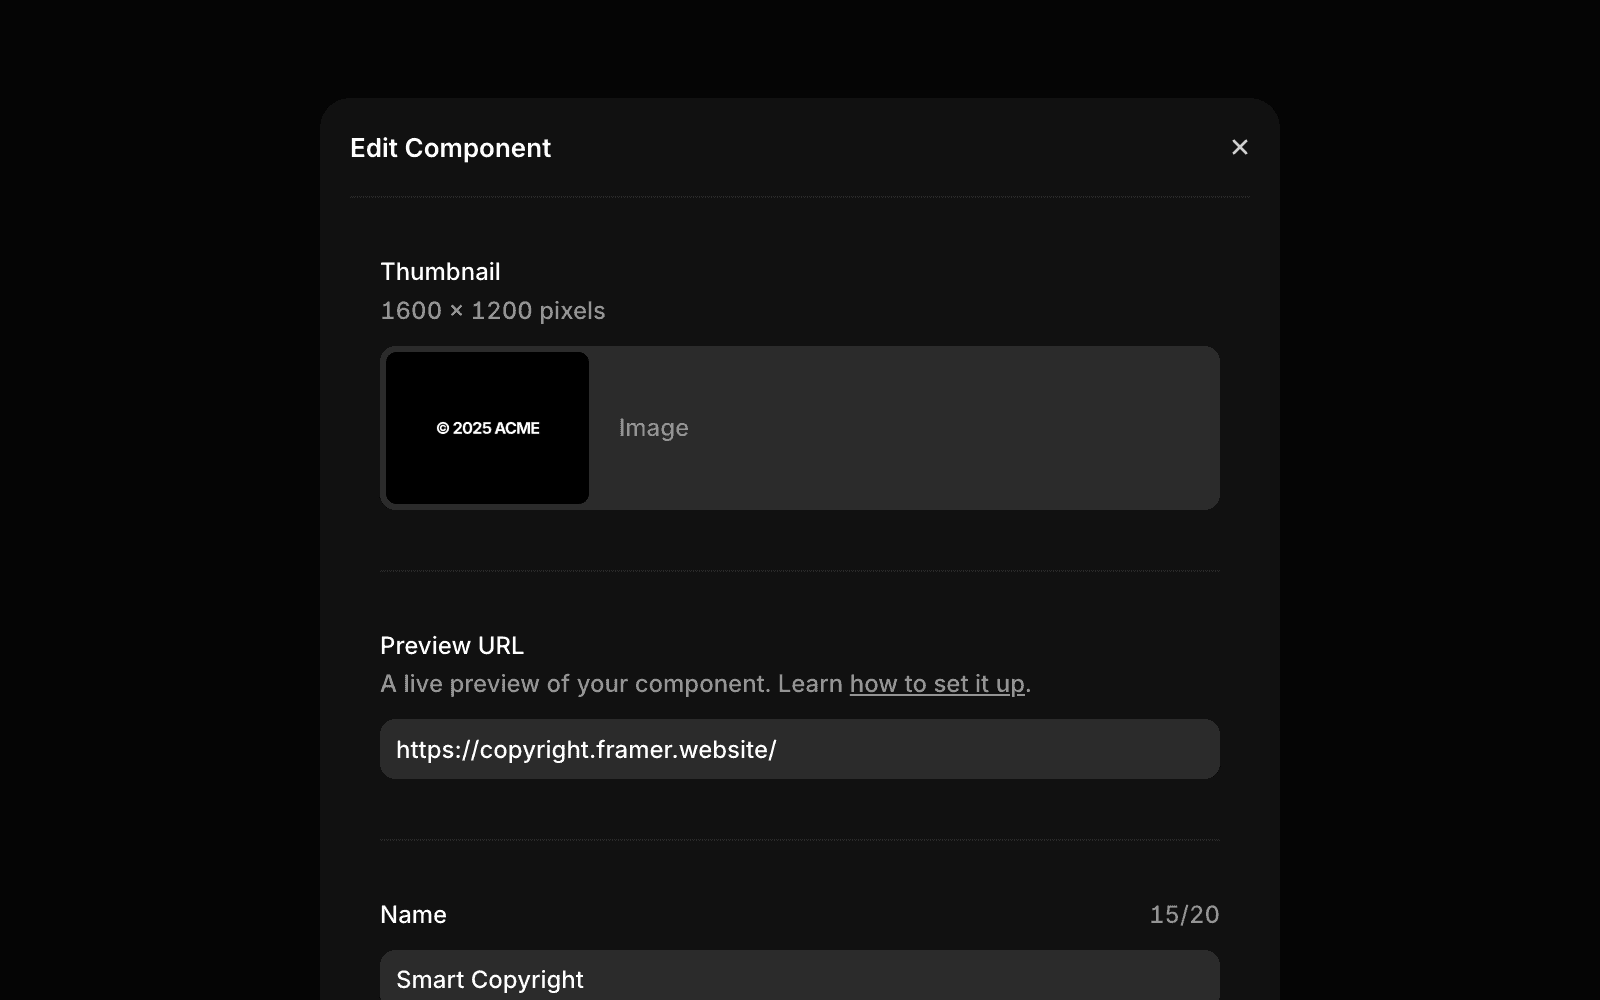
Editing Components
You can instantly modify your published components.
Go to the Components tab in your Creator Dashboard, and find the one you’d like to update.
Hover over the component and click Edit from the action menu.
Update any required fields, visuals, or other details.
Click Submit, then confirm any prompts to apply your changes.
Submitting Vectors
Publishing new Vectors is straightforward with the Creator Dashboard. You’ll submit your sets and add descriptions to make your set discoverable in the Marketplace.
Go to the Vectors tab in your Creator Dashboard.
Click New Vectors to start a new submission.
In the submission window, complete all required fields.
Once you’re ready, click Submit.

Editing Vectors
You can update your published Vectors anytime.
Go to the Vectors tab in your Creator Dashboard, and find the one you’d like to update.
Hover over the Vector Set and click Edit from the action menu.
Update any required fields, visuals, or other details.
Click Submit, then confirm any prompts to apply your changes.

Managing your creator profile
Your profile showcases all your work. Keeping it updated ensures maximum visibility.
Open the Creator Dashboard and click Profile in the left sidebar.
Update the required fields, such as your bio or social links.
Click Save Changes. Your updates will be published instantly.
Tip: Use the “Open Profile” button to preview how your profile appears to others.

Understanding your usage statistics
The Creator Dashboard lets you track the performance of your templates and plugins.
These metrics help you understand how users are engaging with your published templates.
Metric | Description |
|---|---|
Views | The number of times users have viewed your template detail pages. |
Previews | The number of clicks on the “Preview” button. |
Remixes | The number of times your template have been duplicated. |
These metrics show how your plugin is being adopted and used across projects.
Metric | Description |
|---|---|
Unique users | The number of users who have used your plugin. |
Total uses | The number of times your plugin has been used. |
For assistance or questions about the Creator Dashboard, please email us at creators@framer.com.
FAQ
How do I submit a new template using the Framer Creator Dashboard?
To submit a new template, go to the Templates tab in your Creator Dashboard, click 'New Template' to start a new submission, complete all required fields in the submission window, and once you’re ready, click 'Submit'.
Can I edit my published plugins or templates, and do changes require review?
You can edit your live templates and plugins anytime. Most changes are applied instantly and do not require re-review, except for new plugin versions or if you change the remix link, preview URL, or checkout URL on a template, which will require manual review from the Framer team before going live.
What usage statistics are available in the Creator Dashboard, and what do they mean?
The Creator Dashboard provides metrics for templates such as Views (number of times users have viewed your template detail pages), Previews (number of clicks on the 'Preview' button), and Remixes (number of times your template has been duplicated). For plugins, you can see Unique users (number of users who have used your plugin) and Total uses (number of times your plugin has been used).
Updated